✪ Key Takeaway: Arbes is a crispy roasted chickpea snack seasoned with Middle Eastern spices, perfect for healthy snacking or as a protein-rich side dish.
Introduction
The moment you bite into perfectly roasted arbes, you hear that satisfying crunch followed by warm, earthy flavors of cumin and garlic.
What makes this recipe special is how it transforms humble chickpeas into an addictive snack that is both nutritious and incredibly satisfying.
Hi, I am Abdur, your nutrition coach, and today I am showing you exactly how to make arbes that delivers restaurant-quality crunch and flavor in your own kitchen.
What’s the Origin of This Recipe?
Arbes has its roots in Middle Eastern and Mediterranean cuisines where chickpeas have been a dietary staple for thousands of years.
The word arbes comes from Arabic, referring to roasted or toasted chickpeas that street vendors have sold for centuries across the region.
In countries like Turkey, Lebanon, Syria, and Jordan, families prepare arbes as a traditional snack during gatherings and celebrations.
Regional variations exist with some versions using just salt while others incorporate complex spice blends including cumin, paprika, and sumac.
This recipe represents a balanced approach that honors traditional flavors while making the preparation accessible for modern home cooks.
✪ Fact: Archaeological evidence shows chickpeas were cultivated in the Middle East over 7,500 years ago, making them one of humanity’s oldest cultivated legumes.
Is This Recipe Healthy?
Arbes is exceptionally nutritious because chickpeas provide high-quality plant protein, fiber, and essential minerals.
One serving delivers approximately 15 grams of protein and 12 grams of dietary fiber, supporting both muscle maintenance and digestive health.
The recipe fits perfectly into vegetarian, vegan, and Mediterranean diets while being naturally gluten-free for those with sensitivities.
Using olive oil instead of unhealthy fats provides heart-healthy monounsaturated fats that support cardiovascular function.
You can make this even healthier by controlling sodium levels and using minimal oil while still achieving excellent texture and taste.
✪ Total Time: 50 minutes | ✪ Total servings: 4
Tools
- Large baking sheet
- Parchment paper or silicone baking mat
- Large mixing bowl
- Clean kitchen towel or paper towels
- Measuring spoons
- Wooden spoon or spatula
✪ Pro Tip: Using parchment paper prevents sticking and makes cleanup effortless while ensuring even browning.
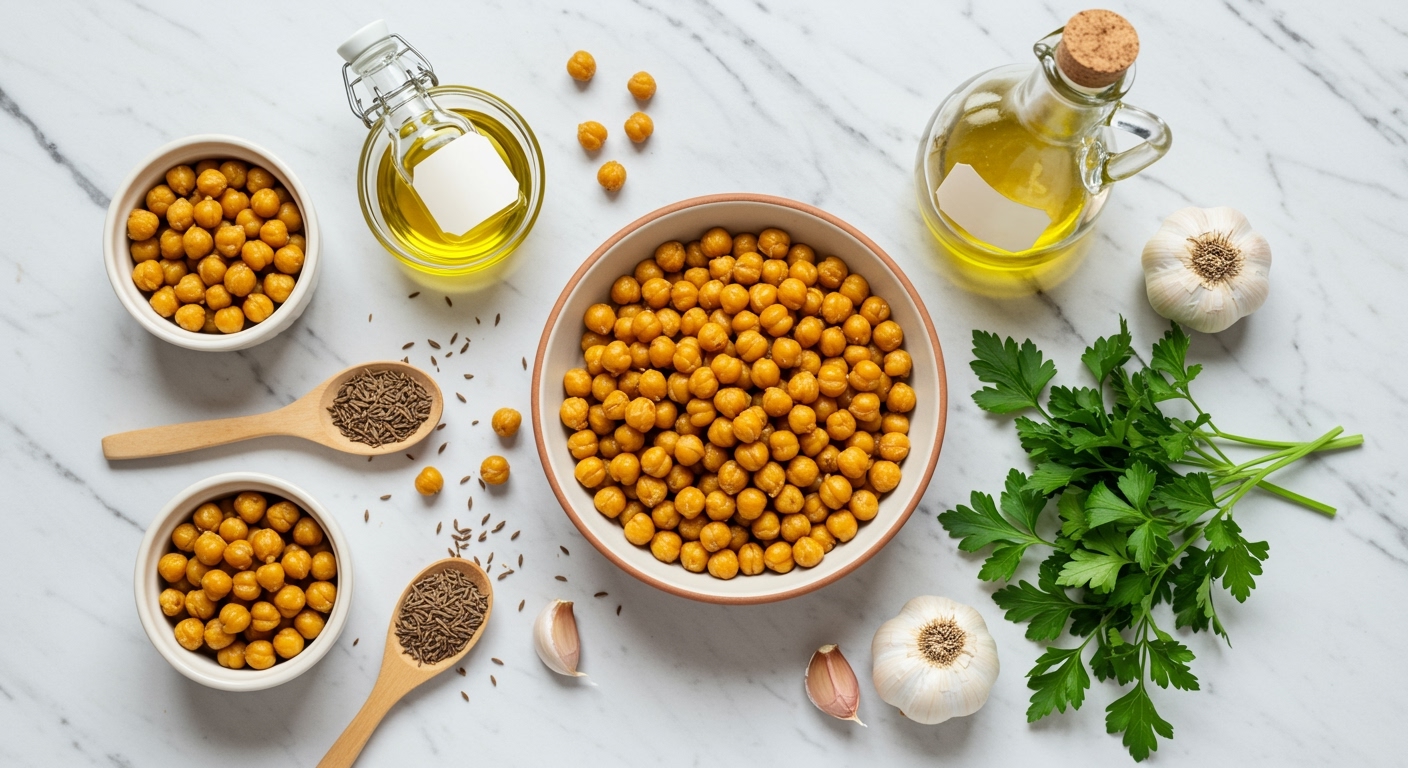
Ingredients
- 2 cans (15 ounces each) chickpeas, drained and rinsed
- 2 tablespoons olive oil
- 1 teaspoon ground cumin
- 1 teaspoon paprika
- 1/2 teaspoon garlic powder
- 1/2 teaspoon sea salt
- 1/4 teaspoon black pepper
- Optional: 1/4 teaspoon cayenne pepper for heat
✪ Note: Using canned chickpeas saves time, but you can cook dried chickpeas from scratch for even better texture.
Instructions
- Preheat your oven to 400°F (200°C) and line a large baking sheet with parchment paper.
- Drain and rinse the chickpeas thoroughly, then spread them on a clean kitchen towel to dry completely for 10 minutes.
- Pat the chickpeas gently with another towel to remove as much moisture as possible, which is crucial for crispiness.
- Transfer the dried chickpeas to a large mixing bowl and drizzle with olive oil, tossing to coat evenly.
- Add cumin, paprika, garlic powder, salt, and black pepper to the bowl, stirring until all chickpeas are evenly coated.
- Spread the seasoned chickpeas in a single layer on the prepared baking sheet, ensuring they do not overlap.
- Roast in the preheated oven for 35-40 minutes, shaking the pan every 10 minutes for even browning.
- Watch closely during the final 5 minutes as chickpeas can go from perfectly crispy to burnt quickly.
- Remove from the oven when chickpeas are golden brown and crispy, then let them cool on the baking sheet for 5 minutes.
- Taste and adjust seasoning if needed, adding more salt or spices while the arbes are still slightly warm.
✪ Pro Tip: The chickpeas will continue crisping as they cool, so remove them when they are almost at your desired texture.
Nutrition Facts (approximate)
- Calories: 220 kcal
- Protein: 10g
- Carbohydrates: 30g
- Fat: 8g
✪ Fact: Chickpeas have a low glycemic index, meaning they release energy slowly and help maintain stable blood sugar levels.
What Are Common Mistakes to Avoid?
The biggest mistake people make is not drying chickpeas thoroughly before roasting, which results in steamed rather than crispy arbes.
Another common error is overcrowding the baking sheet, which traps moisture and prevents proper browning and crisping.
Using too much oil creates soggy chickpeas instead of crispy ones, so measure carefully and toss gently for even coating.
Skipping the step of shaking the pan during roasting leads to uneven cooking with some chickpeas burnt while others remain soft.
You will know something is wrong if your chickpeas remain soft after 40 minutes, which usually means they were too wet or the oven temperature was too low.
✪ Pro Tip: If your chickpeas are not crisping, increase oven temperature to 425°F and roast for an additional 5-10 minutes.
What If You’re Missing an Ingredient?
If you do not have olive oil, you can substitute with avocado oil or coconut oil, which both handle high heat well.
Missing cumin is more significant because it provides the signature flavor, but you can use curry powder or garam masala for a different profile.
Garlic powder can be replaced with onion powder or even fresh minced garlic, though fresh garlic may burn at high temperatures.
If you are out of paprika, try chili powder for heat or smoked paprika for deeper flavor, adjusting quantity based on spice tolerance.
The only truly essential ingredient is the chickpeas themselves, as everything else can be adjusted based on what you have in your spice cabinet.
✪ Note: Fresh chickpeas work better than canned if you have time to cook them, resulting in superior texture and flavor.
Can You Store Leftovers?
Arbes stays crispy for 2-3 days when stored in an airtight container at room temperature away from moisture.
Avoid refrigerating roasted chickpeas because the cold environment introduces moisture that makes them soft and chewy.
If your arbes loses crispiness, you can re-crisp them by spreading on a baking sheet and heating at 350°F for 5-7 minutes.
Glass or metal containers work better than plastic for storage because they do not trap as much moisture inside.
The texture gradually softens over time, so arbes is best enjoyed within the first day or two for maximum crunch.
✪ Pro Tip: Add a small silica gel packet to your storage container to absorb excess moisture and maintain crispiness longer.
Can You Scale This Recipe?
This recipe scales up beautifully for large gatherings, but you will need multiple baking sheets to avoid overcrowding.
When doubling or tripling the recipe, maintain the same roasting time but rotate pans between oven racks halfway through cooking.
Scaling down works perfectly for smaller portions, and you can roast as little as one can of chickpeas using the same temperature and technique.
The spice ratios remain consistent regardless of batch size, though you may want to adjust salt levels based on personal preference.
For meal prep, consider making multiple batches throughout the week rather than one huge batch since freshness matters for optimal texture.
✪ Note: If roasting multiple pans simultaneously, add 5-10 minutes to total cooking time and rotate pans every 10 minutes.
Can You Customize This Recipe?
You can create sweet arbes by replacing savory spices with cinnamon, nutmeg, and a touch of maple syrup or honey.
For a Mediterranean twist, add dried oregano, lemon zest, and a pinch of sumac after roasting for bright, tangy flavor.
Indian-inspired versions work wonderfully with garam masala, turmeric, and a squeeze of fresh lime juice when they come out of the oven.
You can make spicy arbes by increasing cayenne pepper or adding hot sauce to the oil before tossing with chickpeas.
Ranch seasoning, taco seasoning, or even everything bagel seasoning creates fun variations that appeal to different taste preferences.
✪ Pro Tip: Experiment with one small batch at a time when trying new flavor combinations to avoid wasting ingredients.
The Bottom Line
Making arbes at home gives you complete control over ingredients, spices, and sodium levels while saving money compared to store-bought versions.
The secret to perfect arbes is patience with drying and consistent heat that transforms ordinary chickpeas into extraordinary snacks.
I would love to hear how your arbes turned out, what flavor combinations you tried, and any questions you have about perfecting this recipe in the comments below.
References
At NutritionCrown, we use quality and credible sources to ensure our content is accurate and trustworthy. Below are the sources referenced in writing this article:
- Florida Department of Health: Step-by-Step Recipe Standardization Guide
- CIB Education Blog: Healthiest Way of Cooking
- Virginia Cooperative Extension: Food Safety and Preservation
- Harvard Science and Cooking: The Science of Cooking
- American Heart Association: Healthy Cooking Methods